To disable a Booking page, go to the Booking page's Overview section and toggle the On/Off switch in the top right corner (Figure 1).
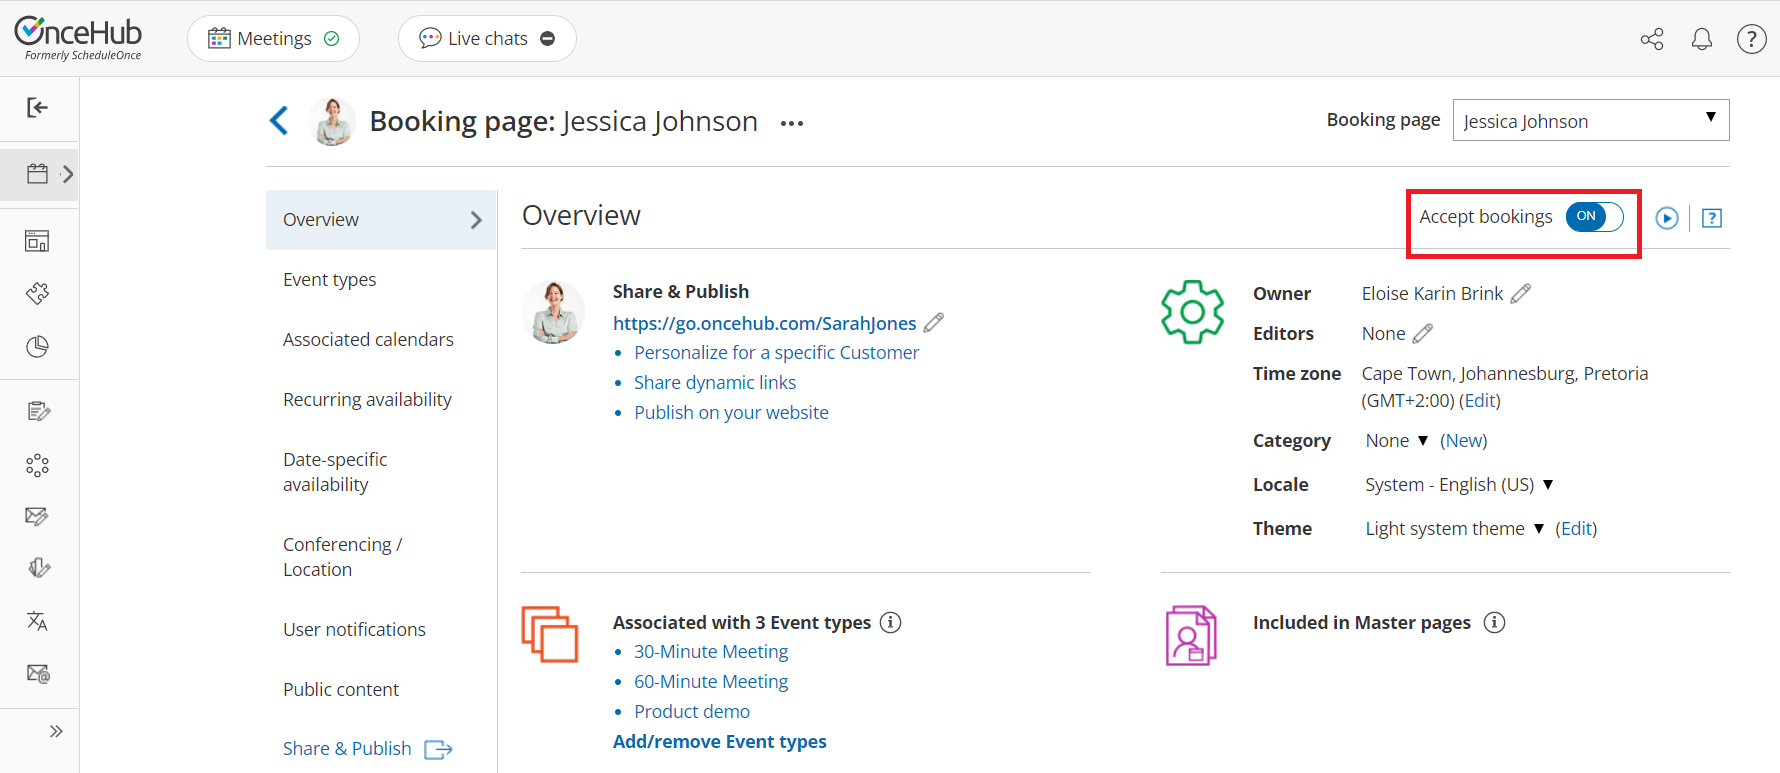 Figure 1: Booking page Enable/Disable toggle
Alternatively, you can completely delete the Booking page by going to Booking pages in the bar on the left, clicking the action menu  of the relevant Booking page, and selecting Delete (Figure 2). In the Delete Booking page popup that opens, click Yes.
 Figure 2: Deleting a Booking page
Effects of disabling your Booking page
- Customers will not be able to make new bookings.
- Customer will not be able to cancel existing bookings.
- Customer will not be able to reschedule existing bookings on that same page.
- If an existing booking was booked through a chatbot, and the disabled page is an additional team member in a panel, they can reschedule the meeting if there are others available. However, the existing calendar event, notifications, and any other data will not be updated.
- The Public content section is still visible to your Customers whether your page is enabled or disabled. Consider changing your personal message if you're thinking about disabling your Booking page.
- On the Booking page's Overview section, the Accept bookings toggle switch is in the Off position, and an alert message is displayed under the Booking page name with a link to enable the page (Figure 3). To facilitate accurate setup, the status of disabled pages is indicated in most Booking page lists within the app.
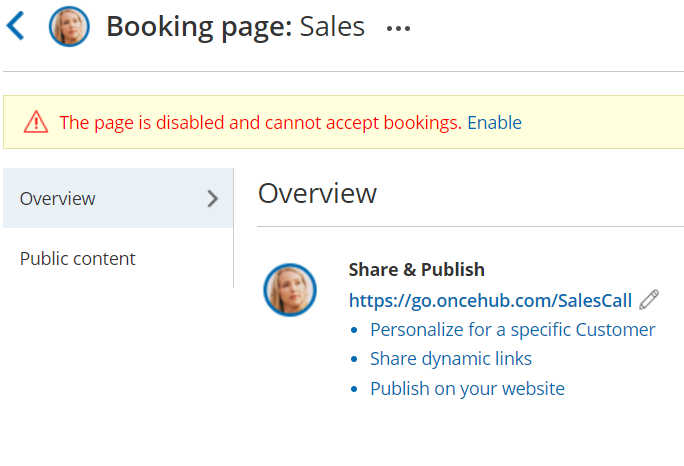 Figure 3: Booking page Enable link
- The Booking page will also be labelled as [Disabled] in the Booking page scheduling setup page (Figure 4).
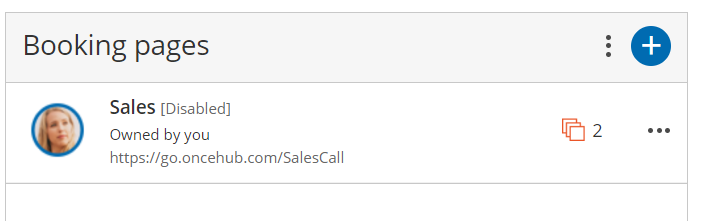 Figure 4: Disabled Booking page
- A No times are currently available message will show on your Booking page when Customers try to book with you (Figure 5).
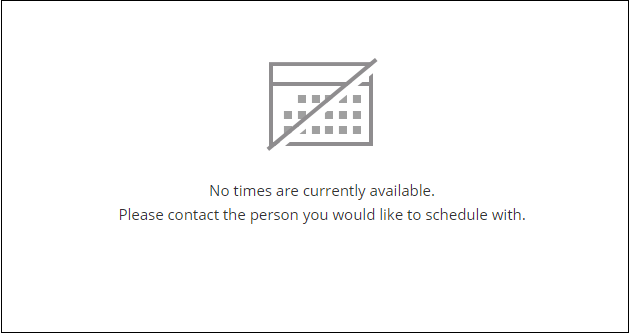 Figure 5: No times are currently available message


You do not need an assigned license to disable or enable Booking pages. Learn more