Locales are configured in the Localization editor on the account level and applied to each Booking page and Master page individually. When a locale is applied to a page, any subsequent changes made to that locale are visible to the Customer. The applied locale determines the language of the page and the date/time formats used.
In this article, you'll learn about applying a locale to a Booking page or Master page and to Customer notifications.
Applying a locale to a Booking page or Master page
- Go to Booking pages in the bar on the left.
- Select the Booking page or Master page that you want to localize.
- In the page's Overview section, use the Locale drop-down menu to select the locale you want to apply to that page (Figure 1). The change is automatically saved.
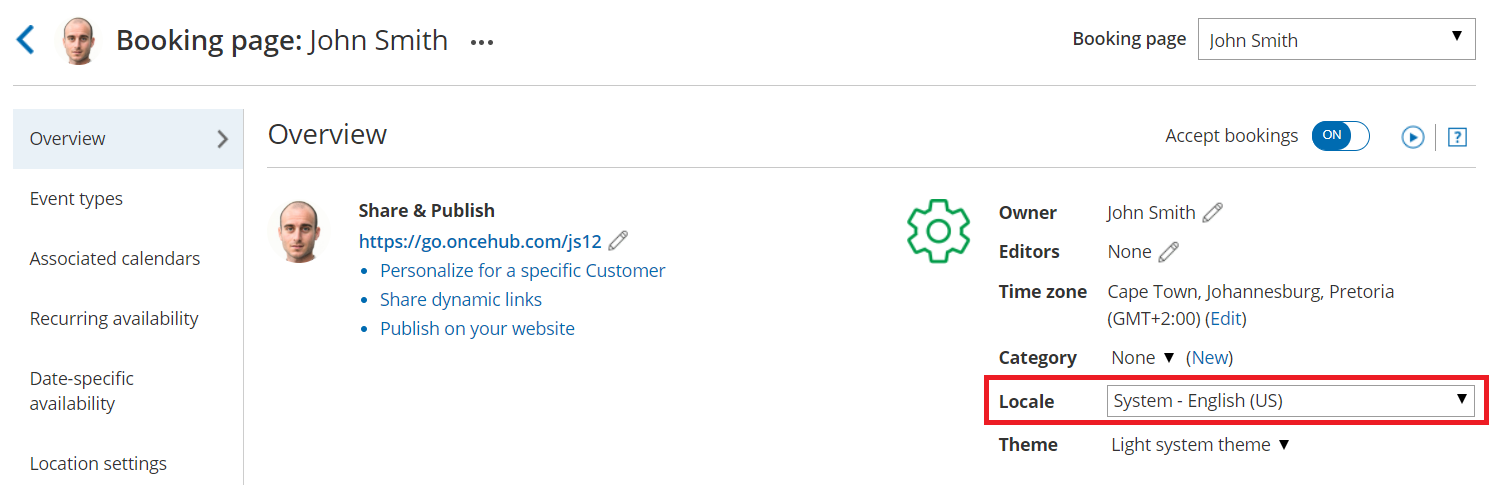 Figure 1: Booking page Overview section

NoteApplying a locale to a Master page always overrides the locales applied to any Booking pages included in that Master page.
Applying a locale to Customer notifications
The locale of the Booking page or Master page determines the date/time formats and the language of the Dynamic fields in Customer notifications including outgoing emails, SMS messages, and the calendar event. The text in these notifications is automatically translated.
- Dynamic fields in notifications are only translated for Customer notifications based on Custom templates. Dynamic fields in User notifications and Default templates always remain in English.
- Static text is not automatically translated. To translate the static text of these notifications, you'll need to use Custom notification templates.
Localization of Default notification templates vs. Custom notification templates
| Default templates | Custom templates | |
| User notifications by email and SMS | OnceHub Dynamic fields are shown in English. Date/time format follows User profile settings. | OnceHub Dynamic fields are shown in English. Date/time format follows User profile settings. |
| Customer notifications by email and SMS and the calendar event | OnceHub Dynamic fields are shown in English. Date/time format follows User profile settings. | OnceHub dynamic fields such as time zone, country, and location are shown in the locale selected on the Booking page. Date/time format follows locale settings. |
Setting a default locale
The account’s default locale is set under the Localization editor. To set a locale as your default locale, select the desired locale from the locale list and then click Set as default locale at the top of the page (Figure 2).
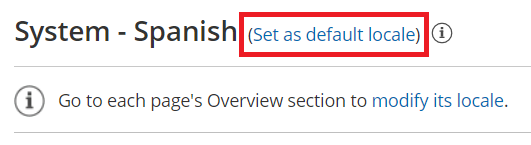 Figure 2: Set your default locale
The default locale will be automatically applied to any newly created page, but existing pages will not be affected.