A schedule button in your email is a great call-to-action, whether in your daily interactions with Customers or when running email campaigns. See our full Email button gallery
In this article, you'll learn the two ways to insert a button into your email signature. The method you choose will depend on your settings.
Insert via URL
You can insert a button without downloading the image to your computer. Most web-based email programs allow you to do this, including Gmail.
- Review the buttons in our scheduling buttons gallery.
- Copy one of the button links on the right.
- In your email signature editor, click the insert picture icon (Figure 1) and paste the link in the URL field.
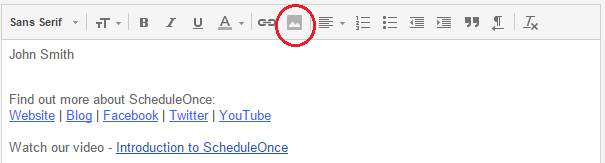 Figure 1: Picture icon in email signature editor
- In the editor pane, select the newly-added button image to highlight it.
- Click the Add link icon and add your Booking page link (Figure 2).
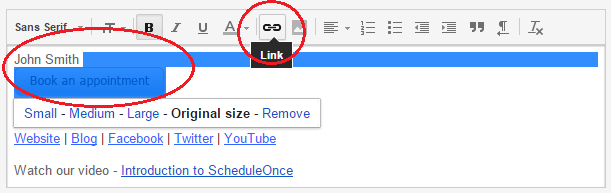 Figure 2: Add a link to your button


Insert by uploading a button image
You can also insert a button by downloading the image to your computer and then uploading it to your email program. Follow these steps if you use Outlook or another desktop email program.
- Review the buttons in our scheduling buttons gallery.
- Select the one you want
- Save the button to your computer by right-clicking on the button and selecting Save image as...
- In the email signature editor, click the Upload image icon (Figure 3) and select the file you've just saved.
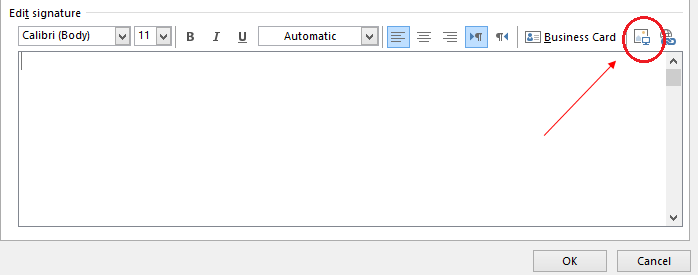 Figure 3: Upload image icon
- In the editor pane, select the newly-added button image to highlight it.
- Click the Add link icon (Figure 4) to add your Booking page link to the image.
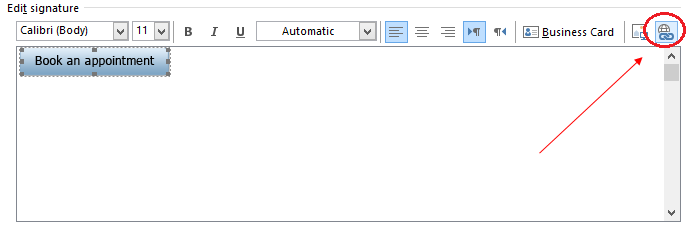 Figure 4: Add link icon


NoteEvery email program is different and the images used in this article may not match your email client’s interface exactly.