Leads can be driven to your Booking pages from multiple online sources. For example, you might receive bookings from mass emails, social media, and pay per click (PPC) advertising. Tracking which campaign has generated the most bookings can help you focus on the campaigns that matter.
In this case, it is recommended that you use tracking technologies to identify the source of the booking. There are many third-party tracking technologies, such as Google Analytics. These technologies typically require you to place a snippet of HTML code on the page that you’re tracking.
The simplest way to do this is to add source tracking tags to personalized Booking page links with different UTM tags for each of the campaigns that you want to track and redirect Customers to a custom landing page set up with your tracking code.
You can also embed your Booking page into a custom landing page on either end of the booking process. This gives you two reference points for tracking: the number of people that opened the Booking page and the number that completed the booking.
Tracking leads who opened the Booking page
- Booking pages in the bar on the left → Booking page → Share & Publish.
- Select the Website embed tab (Figure 1).
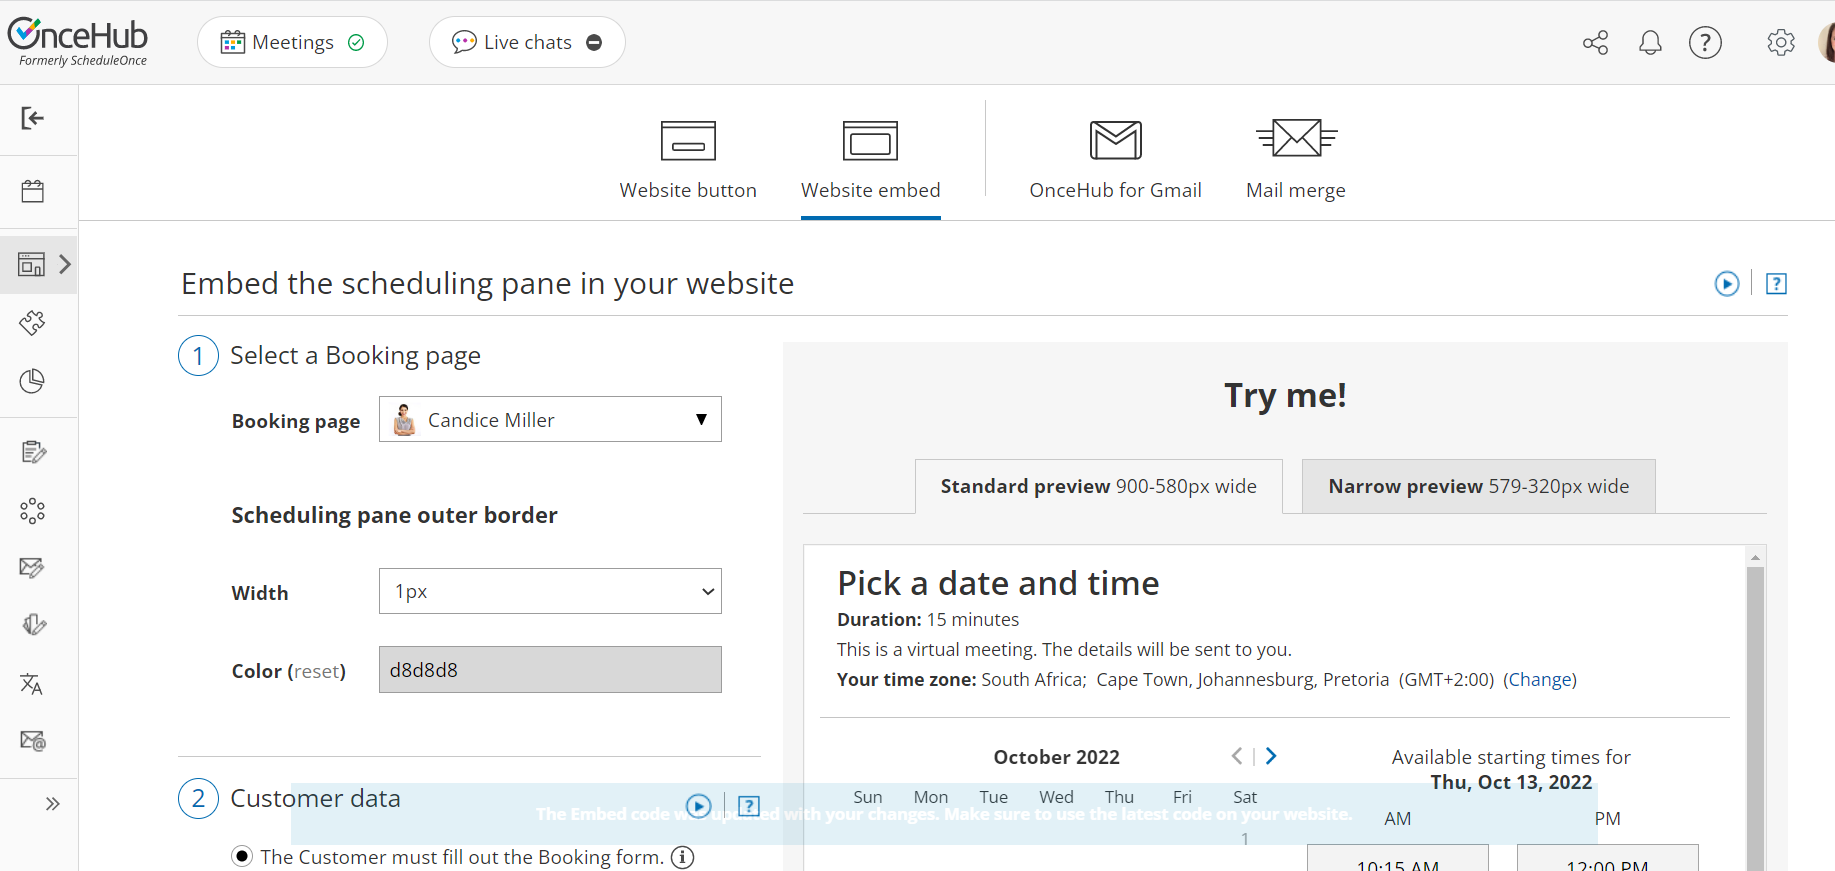 Figure 1: Website button tab
- Select the Booking page or Master page you want to embed on your website.
- Customize Width and border Color.
- In the Customer data step, select to have Customers fill out the Booking form, or select a web form integration option.
If you select a web form integration option, you can select to Skip the Booking form or Prepopulate the Booking form. - Click the Copy button to the copy the code to your clipboard.
- Embed the Booking page on a custom landing page or website.
- Add tracking code to the same custom page (for example, you can use Google Analytics).
- Use the URL for your custom page as the call to action from your email, PPC, and social media campaigns.

Tracking completed bookings
- Create a custom Thank you page.
- Add the tracking code to the Thank you page.
- Go to Booking pages and select the relevant Booking page.
- In the Booking form and redirect section, turn Automatic redirect ON.
Note For Booking pages which are associated with Event types, the Booking form and redirect section is on the Event type. Learn more about the location of the Booking form and redirect section
- Enter the URL you have configured for the Thank you page with tracking code. You can add UTM tags to your Booking page links manually, or use a URL-building tool.
- Check the box to Pass source tracking tags to redirect page.
- Click Save.
Your Booking page is now configured to track bookings. Every booking that is completed will automatically load your custom Thank you page and trigger the embedded tracking code.