In this article, you'll learn about the setup for booking resources such as a room directly, where the resource is the entity that is being booked.
If you need to accept appointments and also reserve a resource, please see the Booking conditional on the availability of a single resource article and the Booking conditional on the availability of multiple resources article.
Setting up scheduling for rooms and resources without Rule-based assignment
ImportantResource scheduling can be done in your connected calendar with regular Outlook Calendar or Google Calendar, or with organizational resource calendars.
- If you're not using organizational resource calendars, create a calendar for each resource. All resource calendars can be created in your calendar as sub calendars.
- Hover over the lefthand menu, select the Booking pages icon, and create a Booking page for each resource.
- In the Associated calendars section of each Booking page, select the resource's calendar as the calendar that bookings are created in, and also as the calendar that busy time is retrieved from.
- In the Booking page Public content section, you can add tags for each resource. This will allow Customers to filter the resource list by tag properties, enabling the Customer to quickly find the appropriate resource and make a booking.
- At this point, you need to decide between two approaches: you can either use Booking pages only, or you can use Booking pages and Event types.
Event types can be used to specify the booking duration, and enable use of Payment integration, which you can use to collect payment every time the resource is booked. A different price can be set for each Event type specifying the different booking durations. Learn more about using multiple Event types - If you choose to use Booking pages only, all settings are on the Booking page.
- If you choose to use Event types for duration, the Scheduling options, Time slot settings, Customer notifications, Booking form and redirect and Payment and cancel/reschedule policy sections will be on each Event type. Learn more about Event types
- If you want to work in Automatic booking mode, people will select a single time and the reservation will be made. You can also work in Booking with approval mode and then you will have to approve each reservation before it is created.
- Once you're done with the settings, create a Master page.
- If you do not want to use team or panel pages to automatically assign to bookings and want Customers to select the resource they need, select one of the other three options in the New Master page pop-up (Figure 1).
These are Event types first, Booking pages first, or Booking pages only.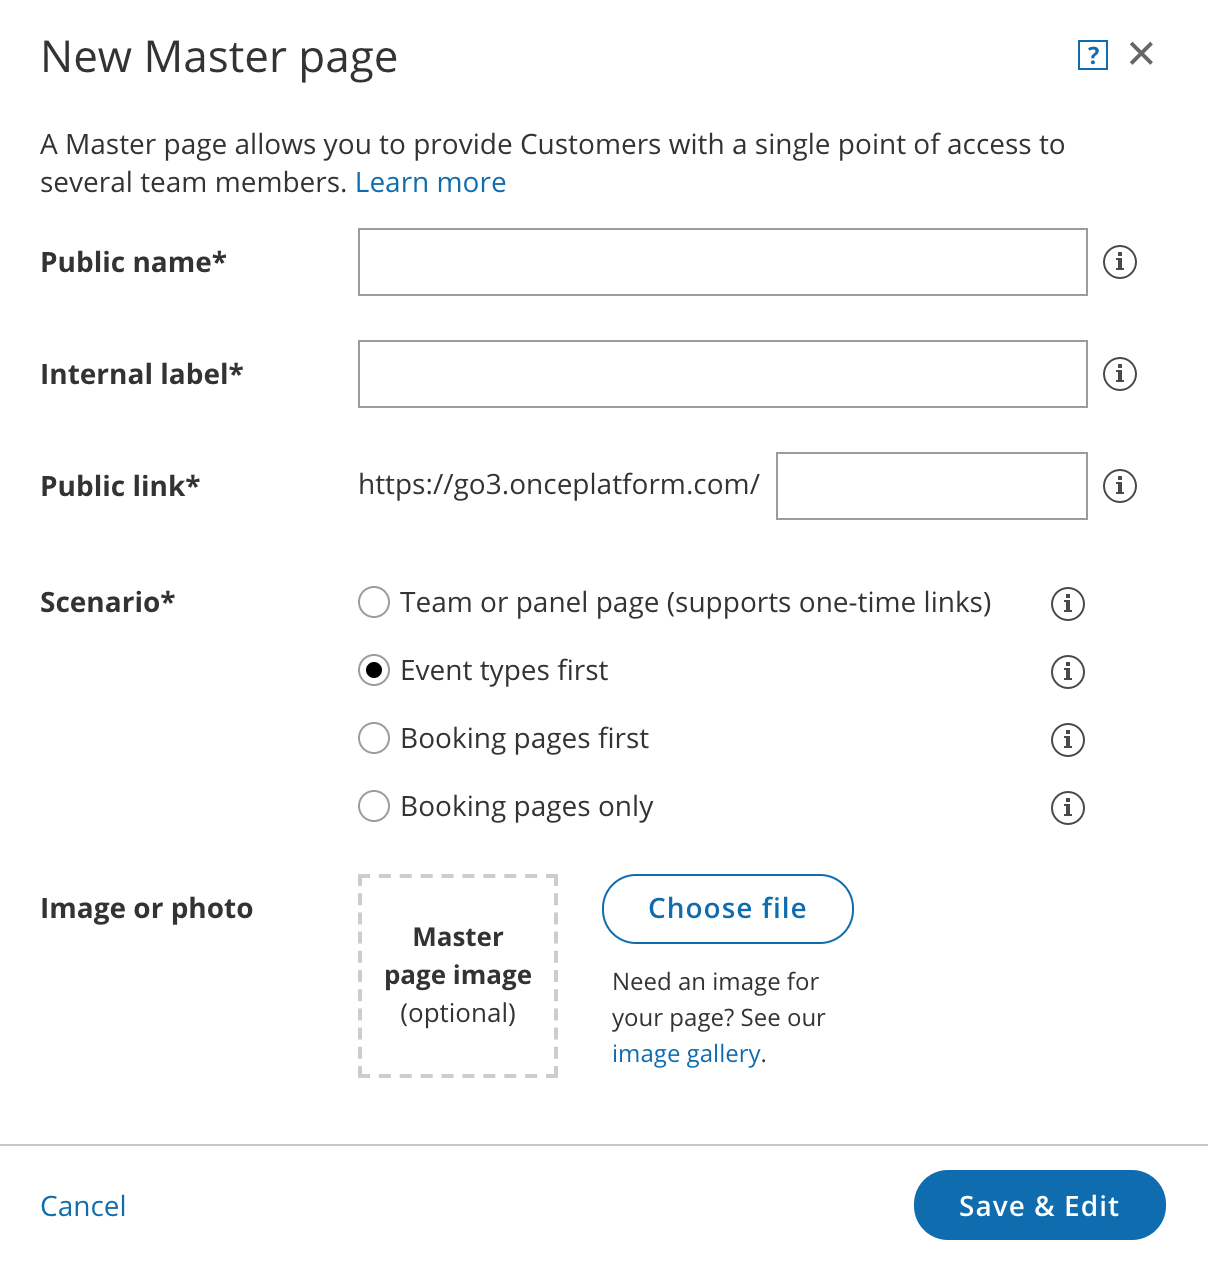 Figure 1: New Master page popup
- Go to the Event types and assignment section and select which Booking pages you want to include from the drop-down.
- In the Labels and instructions section, define the Public labels.
- In the Public content section, provide details which your Customers see when they book with you.

You're all set! To test your Master page, go to the Master page Overview and make a test booking by using the public link in the Share & Publish section.