In this article, you will learn how to configure your booking pages for use with your video conferencing app.
Our integration with video conferencing apps automatically creates meetings in your third-party app. Customers receive a single OnceHub confirmation, including all meeting details in their local time zone. You can configure your Booking pages to use the video call app by editing the Conferencing / Location section of the Booking page.
Connect OnceHub to your third-party video conferencing app first, and then follow these steps:
- Hover over the left hand menu and go to the Booking pages icon → Booking pages → relevant Booking page → Conferencing / Location (Figure 1).
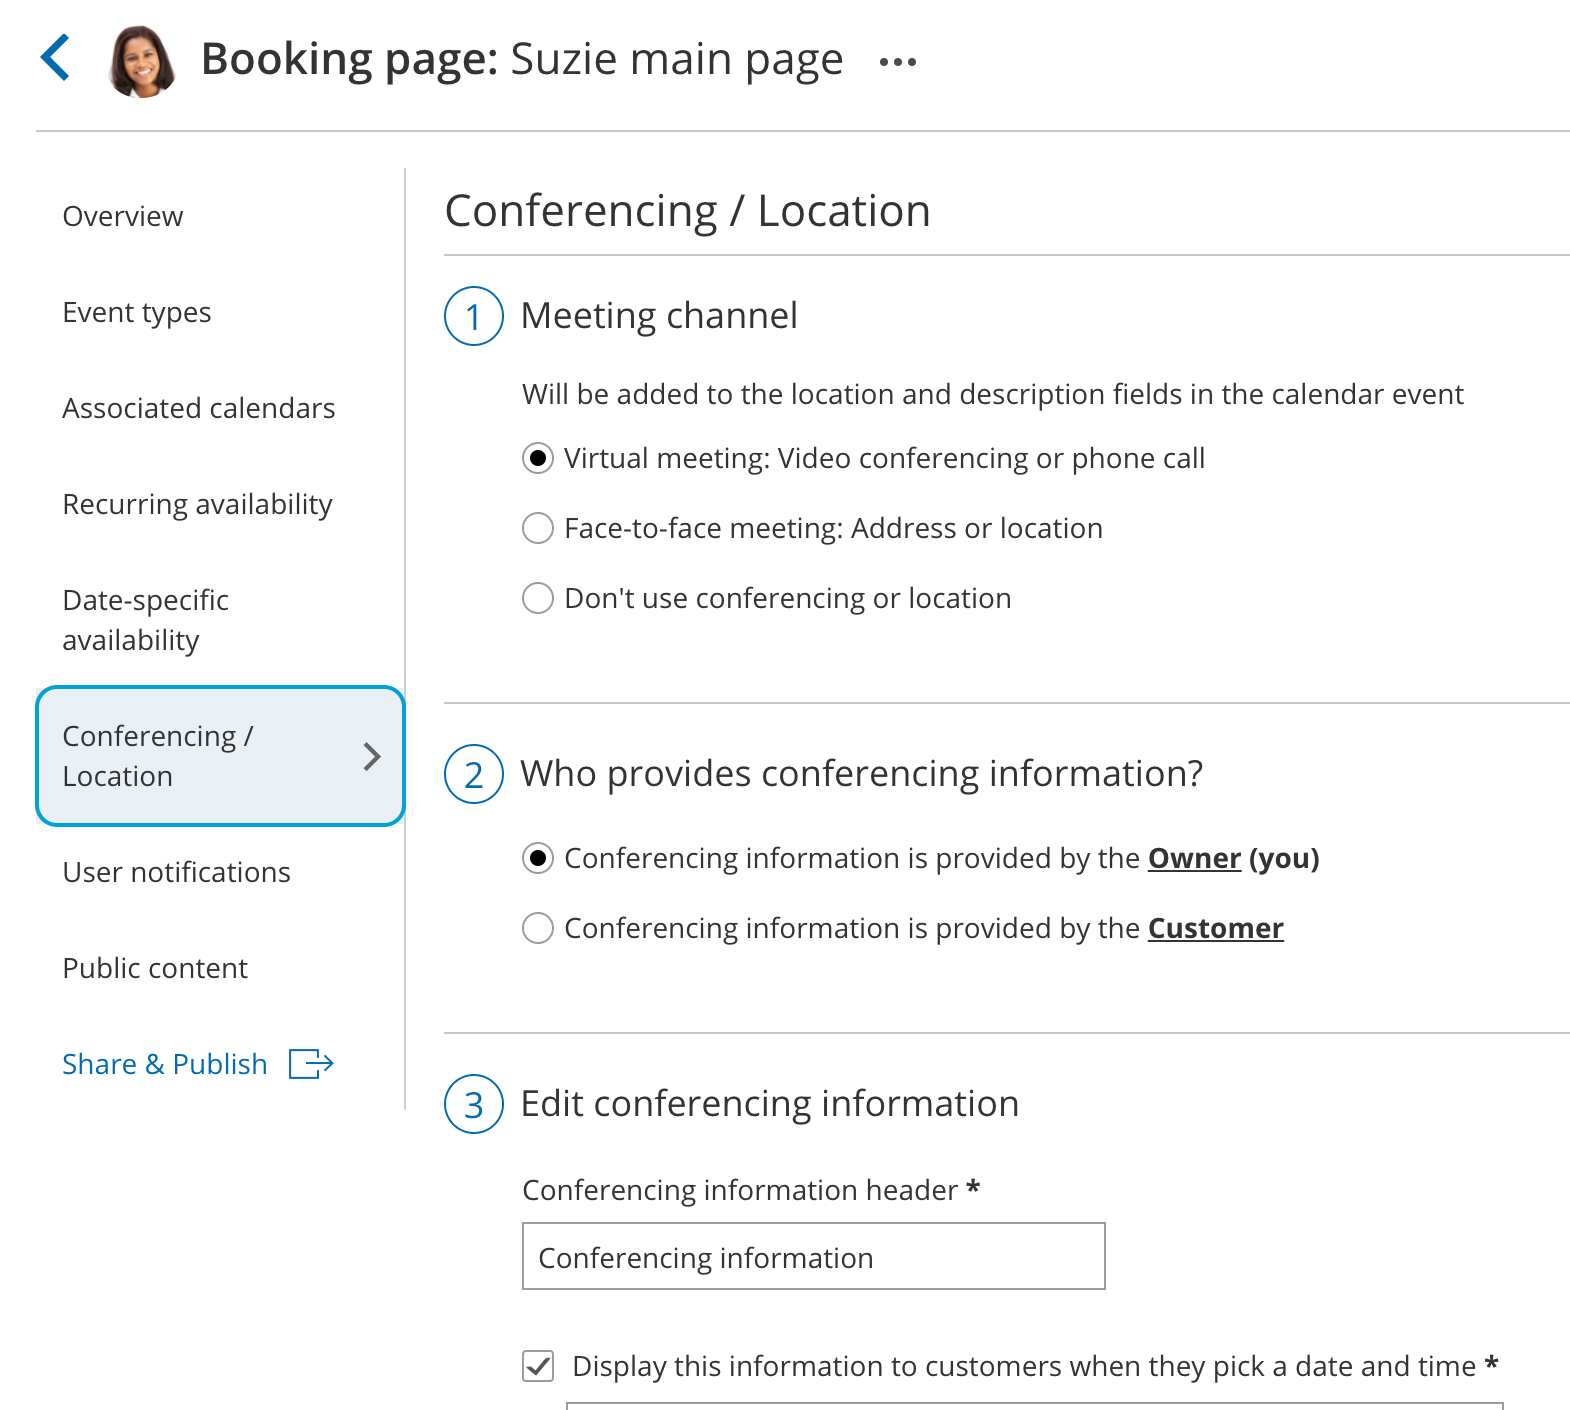 Figure 1: Conferencing / Location section
 - In the Meeting channel step, select Virtual meeting: Video conferencing or phone call.
- For Who provides conferencing information? step, select Conferencing information is provided by the Host (you).
- To Edit conferencing information step, select the third-party video conferencing app you wish to use. (Figure 2).
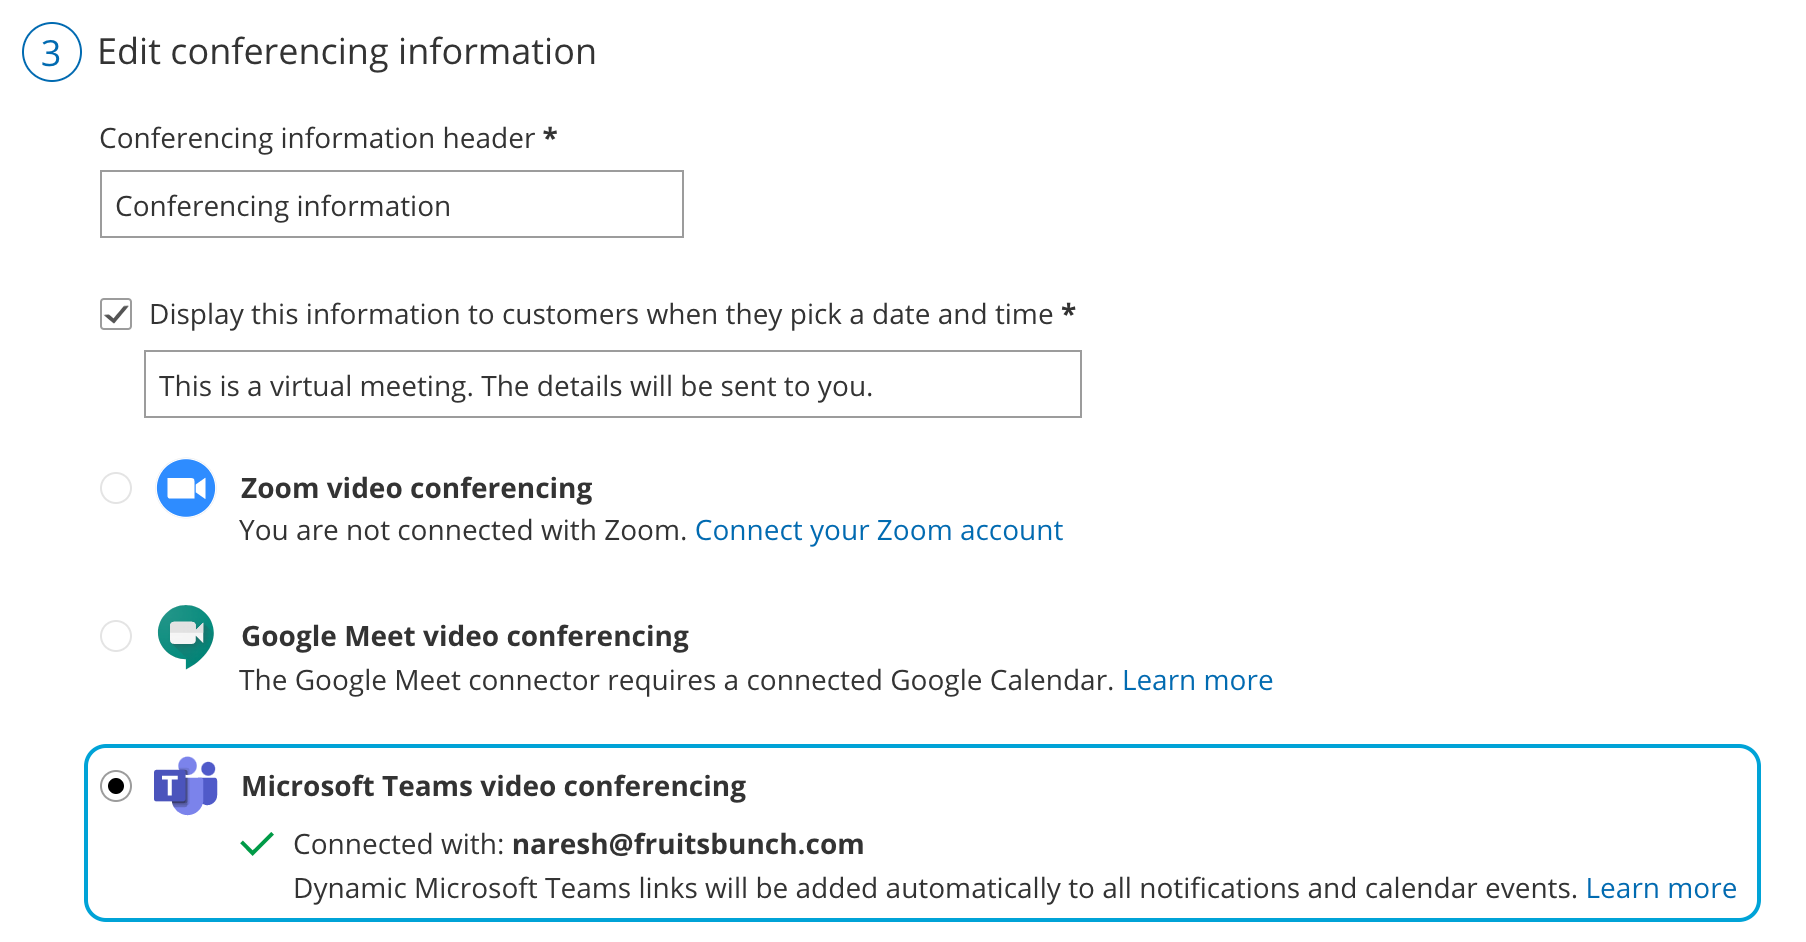 Figure 2: Available video conferencing apps with Microsoft Teams video conferencing selected.
 - Click Save.
 Figure 1: Conferencing / Location section
 Figure 2: Available video conferencing apps with Microsoft Teams video conferencing selected.
 Using Session packages with video conferencing
When you use Session packages, each session includes its unique video conferencing details.
- Schedule and reschedule notification emails that are sent to a Customer include a Conferencing info link next to each selected time.
- When the Customer clicks on the link, the scheduling confirmation page opens as if a single booking was made, displaying the full booking details including the video conferencing information for the session.
- Every reminder that the Customer receives includes the full booking details including the video conferencing information, as if a single booking was made.
- All calendar events for the Host and Customer include the complete video conferencing information for each session.
Note
OnceHub recommends working with a connected calendar. Learn more about the differences between working with a connected calendar vs. working without a connected calendar
Setting the number of participants for a video conferencing session
- Connect OnceHub to your video conferencing app.
- Select your video conferencing app in the Conferencing / Location section for your Booking page.
- Go to the Scheduling options settings of your Booking page or Event type.
- If you have associated your Booking page with at least one Event type, the Scheduling options are found by going to the relevant Event type → Scheduling options.
- If you have not associated your Booking page with at least one Event type, the Scheduling options are found by going to the relevant Booking page → Scheduling options.
- In the One-on-one or Group session? field, select Group session.
- Use the drop-down menu to select the number of Customers you want to allow to attend.
- Click Save.
Note
The number of bookings per time slot set in OnceHub should not exceed your video conferencing app plan's meeting capacity.
You're all set! When a booking is made, the session details for your selected video conferencing app are integrated with all OnceHub notifications and the appropriate session will be automatically created. A video call will be automatically created based on the settings you selected. When multiple Customers sign up for the same session, such as a webinar, each booking receives the same video call details.
Learn more about using OnceHub to schedule webinars and classes