In this article, you will learn how to connect and configure the Outlook connector on your Windows PC (Mac is not supported). This article assumes that you already installed the connector. Learn more about installing the PC connector for Outlook
ImportantOnce you download the PC connector for Outlook, you will not be able to accept bookings until you install the connector and perform the first sync.
From the system tray icons in your Windows PC, click the PC connector icon and select Open connector (see Figure 1).
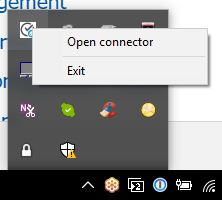 Figure 1: Open connector
NoteAlternatively, you can double-click the PC connector icon from your desktop.
This will bring the connector to the front of the screen (see Figure 2). Click the Settings button.
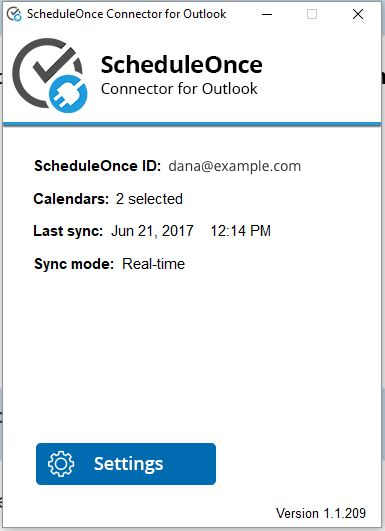 Figure 2: PC Connector for Outlook
After clicking the Settings button, you'll be prompted to connect to your OnceHub account.
In your OnceHub account, select your profile picture or initials in the top right-hand corner → Profile settings → Calendar connection.Copy the OnceHub ID and Security token from the Connect your Outlook Calendar page into the PC Connector for Outlook (see Figure 3).
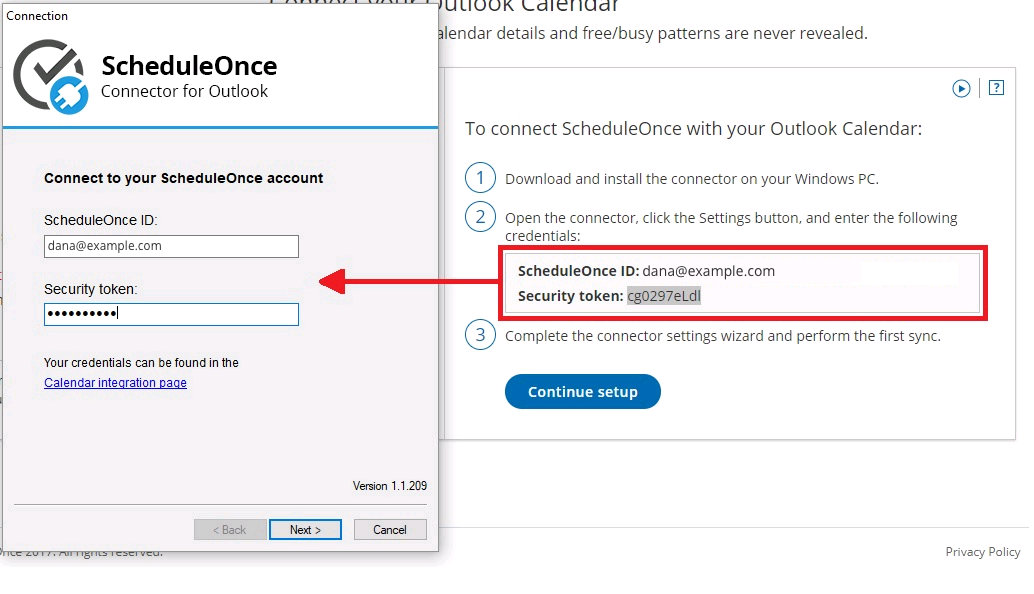 Figure 3: Connect to your OnceHub account
Once you've entered the credentials, click Next. If you enter your credentials incorrectly six times within a 10-minute period, your connection will be blocked for 30 minutes (see Figure 4).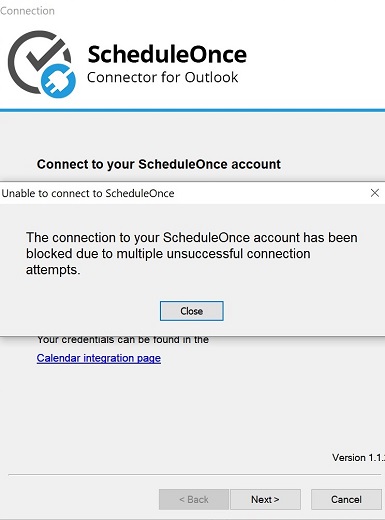 Figure 4: Multiple unsuccessful connection attempts
The Calendar step appears and displays all calendars in your Outlook calendar (see Figure 5). These can be local calendars, Exchange Calendars, resource calendars, or any other calendars that are shared with you.
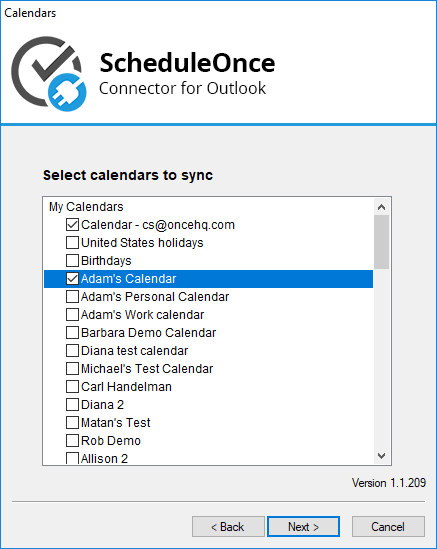 Figure 5: Calendar step
NoteCalendars that cannot be selected are calendars for which you do not have full read/write permissions. These calendars cannot be synced with OnceHub. If you do want to connect to one of these calendars, you can ask the calendar owner to grant you full read/write permissions.
Select the calendars you want to sync and click Next. The selected calendars will be synced with OnceHub and will appear in your OnceHub account under Setup -> Booking pages -> Associated calendars section in your Booking pages. Calendars that are not selected will never be synced with OnceHub.
After you click Next, the Select sync mode step displays the various options for syncing between your Outlook Calendar and OnceHub: real-time (recommended), auto-sync every X minutes/hours, and manual (see Figure 6). Learn more about Outlook sync modes
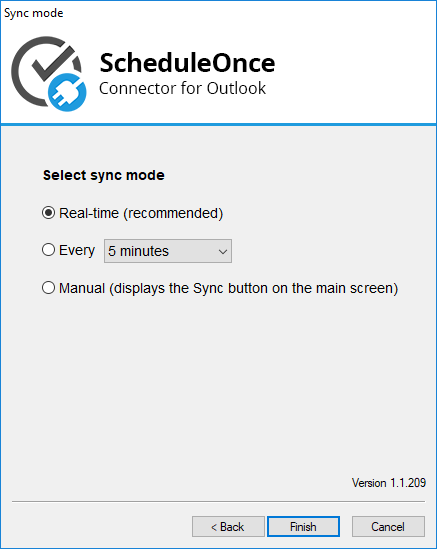 Figure 6: Sync mode
Select a sync mode and click Finish. The connector will perform an initial sync that may take a few minutes, depending on the number of calendars you have and how busy they are. Now simply refresh the browser in your OnceHub account (see Figure 7).
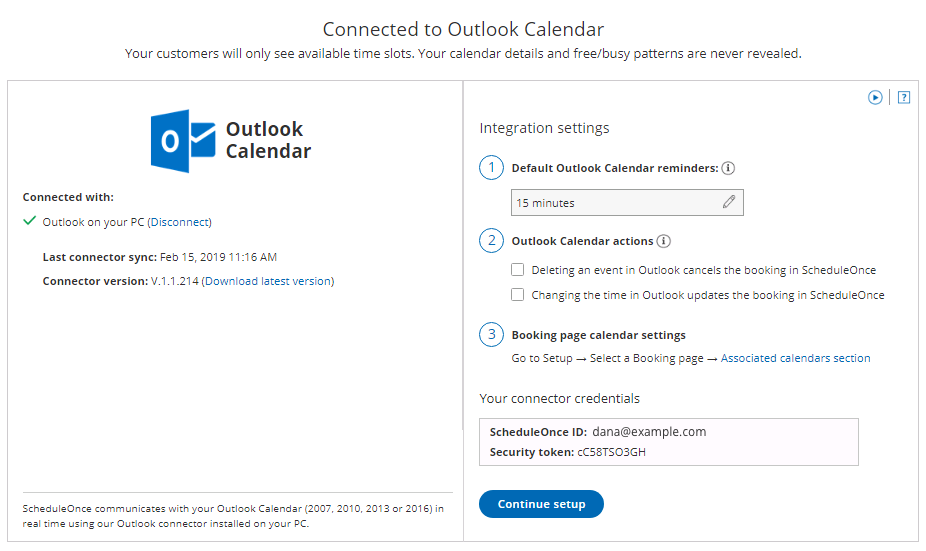 Figure 7: Connected to Outlook Calendar
Your OnceHub account and Outlook Calendar are now connected. You can receive reminders in your connected Outlook Calendar when events are created via OnceHub. By default, the reminders are set to 15 minutes.
To configure default Outlook Calendar alerts, simply select an option from the Default Outlook Calendar reminders drop-down list (see Figure 8).
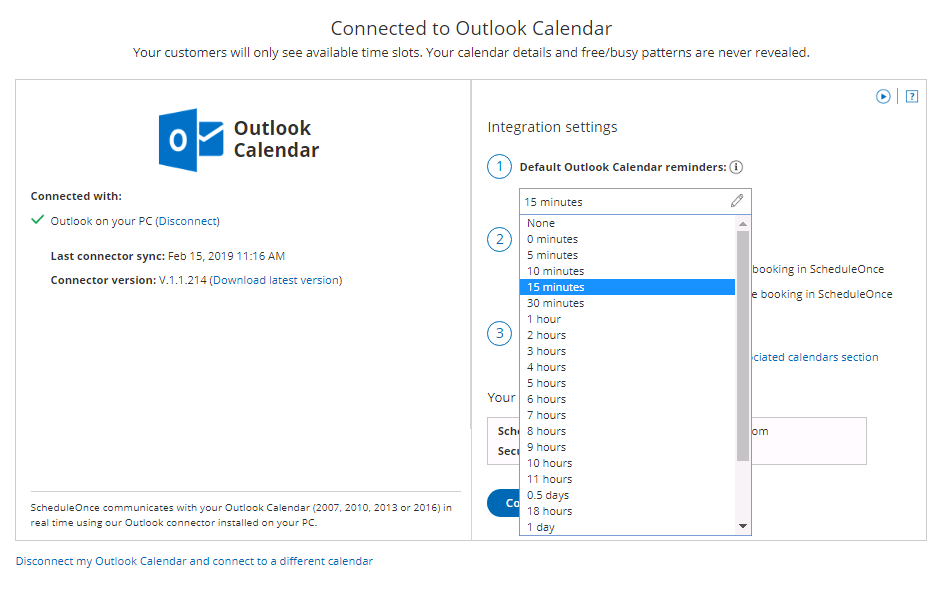 Figure 8: Default Outlook Calendar reminders
The following settings allow you to determine whether changes made in your connected calendar are reflected in OnceHub or not (see Figure 9). Learn more about Outlook Calendar actions
 Figure 9: Outlook Calendar actions


Congratulations! Your connector is configured and you can now configure the Associated calendar settings on your Booking pages.