Adjusting the settings of your OnceHub account might be necessary. Here, you'll find an explanation of how to change some basic profile settings.
How do I change my email ID?
The OnceHub email ID is the email address you provided when you joined the OnceHub account. In this article, you will learn how to change your email ID.
Note
When using OnceHub for G Suite, your email ID is your G Suite ID and as such it cannot be changed by OnceHub.
Changing your email ID
- Select your profile picture or initials in the top right-hand corner → Profile settings → Profile overview → select the three-dot menu next to your profile name → Edit email ID.
- The Edit email ID pop-up will appear (Figure 1).
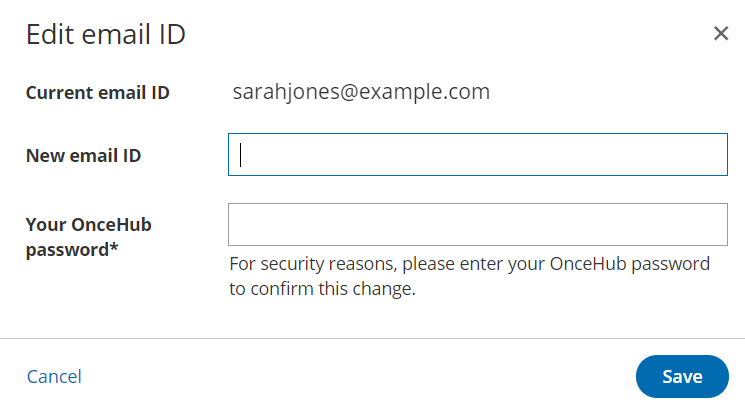
Figure 1: Edit email ID pop-up - Enter your New email ID and OnceHub password.
- Click Save.

Note
OnceHub Administrators can edit another User's email ID in the User's profile. In this case, the Administrator will be required to enter their own OnceHub password to confirm the changes. Learn more about editing other User profiles
Date and time section
In the Date and time section, you can define the default time zone applied to all OnceHub User apps, and the date and time settings that are applied to the OnceHub User app. You can access the Date and time section from your user profile.
Editing your Date and Time settings
- Sign in to your OnceHub account.
- Select your profile picture or initials in the top right-hand corner → Profile settings → Date and time.
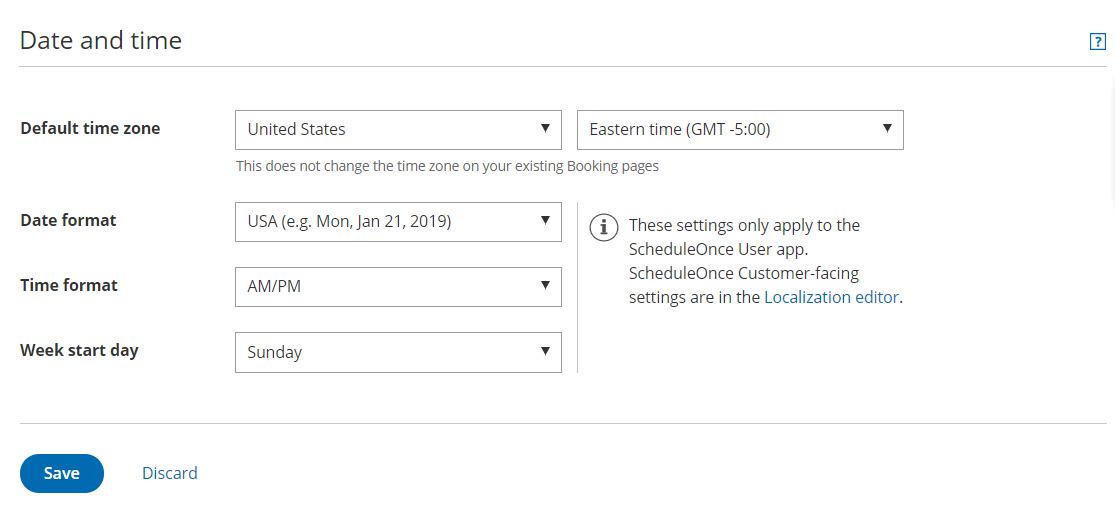 Figure 1: Date and time section
 - Select the Default time zone for both OnceHub and Chatbots apps.
Note
In OnceHub, The default time zone will be applied to all newly created Booking pages owned by the User. Existing Booking pages will remain unchanged. Learn more about the Booking page time zone settings - Select the date and time settings applied to the OnceHub User app:
- Date format: You can choose between mm/dd and dd/mm formats.
- Time format: You can choose between AM/PM or 24hr time format.
- Week start day: By default, Sunday is the week start day.

Note
These settings only apply to the OnceHub User app. OnceHub Customer-facing settings are in the Localization editor.
Set up two-factor authentication
Enabling two-factor authentication adds an extra layer of security to your account. You can set up two-factor authentication for yourself in the Authentication section of your User profile.
When two-factor authentication is enabled, you’ll sign in to your account in two steps using your OnceHub account password and a unique verification code sent to your mobile phone or email.
In this article, you'll learn about enabling two-factor authentication, the sign in process when two-factor authentication is enabled for your profile, and the two-factor authentication lockout policy.
Note
Two-factor authentication is not available for Users signed in via G Suite or SSO.
Who can set up two-factor authentication?
Any User can enable two-factor authentication for their own profile.
OnceHub Administrators cannot enable two-factor authentication for another User. However, they can disable two-factor authentication for any User. To disable two-factor authentication for another User, the Administrator will be required to provide their OnceHub password.
Setting up two-step authentication
Sign in to your OnceHub Account.
- Select your profile picture or initials in the top right-hand corner → Profile settings → Authentication
- Select the method of authentication: phone or email.
- Toggle your chosen authentication method ON. The Password required pop-up appears.
- Enter your OnceHub password.
- Follow the instructions in the app to verify your chosen method. When it is successfully verified, two-factor authentication will be enabled for your profile.
You will now sign in to your account in two steps.
Note
Two-factor authentication has a built-in lockout policy to detect irregular activity. If any irregular sign-in activity is detected, your account will be locked. If your account is locked, contact your account Administrator to unlock it.
Password section
In the Password section of the profile screen, you can change your OnceHub password.
- Your OnceHub password should be unique and strong in order to ensure that your account is secure and inaccessible by other people. It is recommended that you change your password from time to time.
- By default, all passwords in OnceHub must be at least six characters long and include both lowercase letters and numbers. Policies can be adjusted to accommodate for stricter requirements. Learn more about OnceHub password policies
Changing your OnceHub password
Open your OnceHub account.
- Select your profile picture or initials in the top right-hand corner → Profile settings → Password
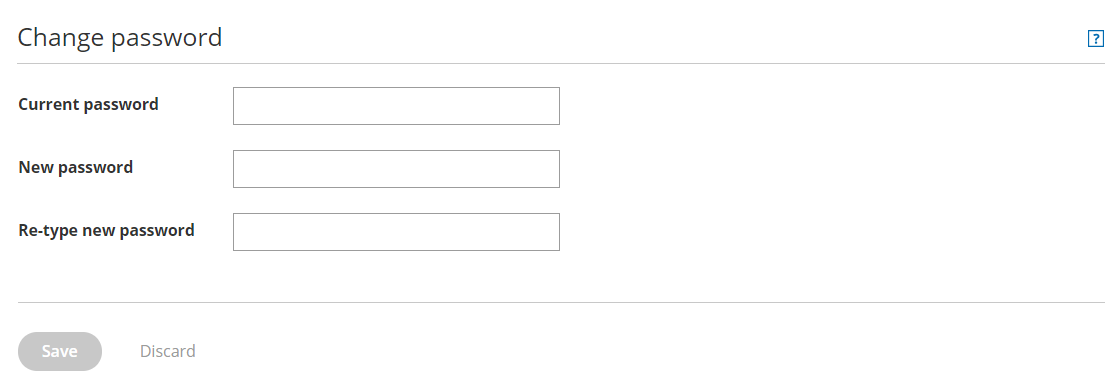 Figure 1: Password tab
 - Enter your current password.
- Enter your new password. For security purposes, the OnceHub Security policies are applied when you change your password.
- Re-type your new password, and then click Save.
 Figure 1: Password tab
Note
Users can only edit their own passwords. Administrators cannot edit other Users' passwords.
Permissions
The Permissions section allows OnceHub Administrators to manage product-specific permissions for their own profile and for other Users. You can access the permissions section from your user profile.
Administrators can assign permissions to any User, whether they have assigned them a license or not.
- Booking pages setup: When this checkbox is enabled, Members can create Booking pages. By default, OnceHub Administrators can always create new Booking pages. Learn more
- User availability: When a User updates their Scheduled meeting availability or Live chat availability, this can be reflected on all relevant Booking pages, chatbots, and forms. This permission allows Users to set their own availability, rather than having an admin control it. Learn more
- Payment integration: This permission requires an active connection to your PayPal account. When connected, you can collect payments for bookings and automatically trigger refunds upon cancellations. When this checkbox is enabled, the User will also be able to process refunds manually from within the Activity stream. Learn more
- Zapier integration: By default, Users can only trigger Zaps from Booking pages they own. This permission enables a OnceHub Administrator to trigger Zaps from any Booking page. To use the Zapier integration, you must connect to Zapier. Learn more