You might need to tweak some settings in order for your calendar integration to work the way you want it to. Read on to learn about the settings that you are able to adjust and how to make these changes.
If you want to connect your iCloud Calendar, learn more here.
Required iCloud Calendar permissions
Below are the iCloud Calendar permission levels required for each type of calendar usage scenario in OnceHub.
Main booking calendar
When a booking is made, the event is automatically created in the main booking calendar and the time is automatically marked as Busy. If you want the main booking calendar to be a calendar you don’t own, you will need to ask the calendar owner to share the calendar with you privately with View & Edit access.
Busy time retrieval
Any time marked as "Busy" in the selected calendar will automatically block time slots on the Booking page. You can retrieve busy time from calendars that you have been privately shared with you with View & Edit access or View Only access.
Additional booking calendars
When a booking is made, a separate calendar event is created in any additional booking calendar you selected. The calendar event is identical to the calendar event created in the main booking calendar, but does not include invitees.
If you want an additional booking calendar to be a calendar you don’t own, you will need to ask the calendar owner to share the calendar with you privately with View & Edit access.
Configuring Default iCloud Calendar reminders
You can configure Default iCloud Calendar reminders in the connected iCloud Calendar. To do so, select your profile picture or initials in the top right-hand corner → User integration. Select an option from the Default iCloud Calendar reminders drop-down list (Figure 1).
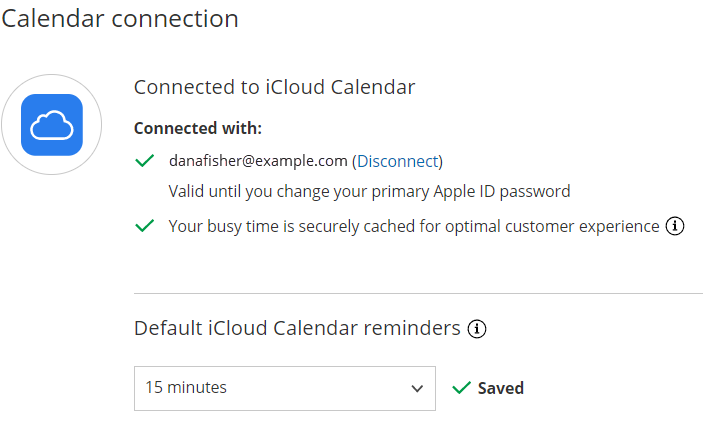
Figure 1: Adjusting default settings
When are iCloud events treated as busy in OnceHub?
Note
For some users, the free/busy settings are NOT available on iCloud.com, on Windows PCs, or the calendar app on Macs. In this case, you can access these settings on your iPhone and iPad.
The setting for busy time in iCloud Calendar is found within calendar event details when you select an event. Click Edit and search for the Show As setting. The options for this setting are Free and Busy.
- Free: OnceHub will not read this time as busy. This is useful when you want to indicate specific events on your calendar without having those events block your availability.
- Busy: OnceHub reads this time as busy and blocks availability.
Please note that all-day events in iCloud do not have the option to be set as Busy. Instead of using an all-day event, we recommend creating a calendar event that's duration blocks out your working hours if needed.