Adding a Website button to your Wordpress blog allows your Customers to schedule an appointment with you without leaving your blog.
In this article, you'll learn how to add a Website button to your Wordpress.org site.
Adding a button to Wordpress
NoteSome WordPress themes do not support Javascript and therefore cannot support our website integration, which requires Javascript. This is true of all Wordpress.com sites.
Other WordPress themes, depending on how the theme was coded by the individual theme creator, might encounter other issues with the website integration. However, the vast majority work smoothly if the above guidelines are followed.
- Go to Booking pages in the bar on the left → Booking page → Share & Publish.
- Select the Website button tab (Figure 1).
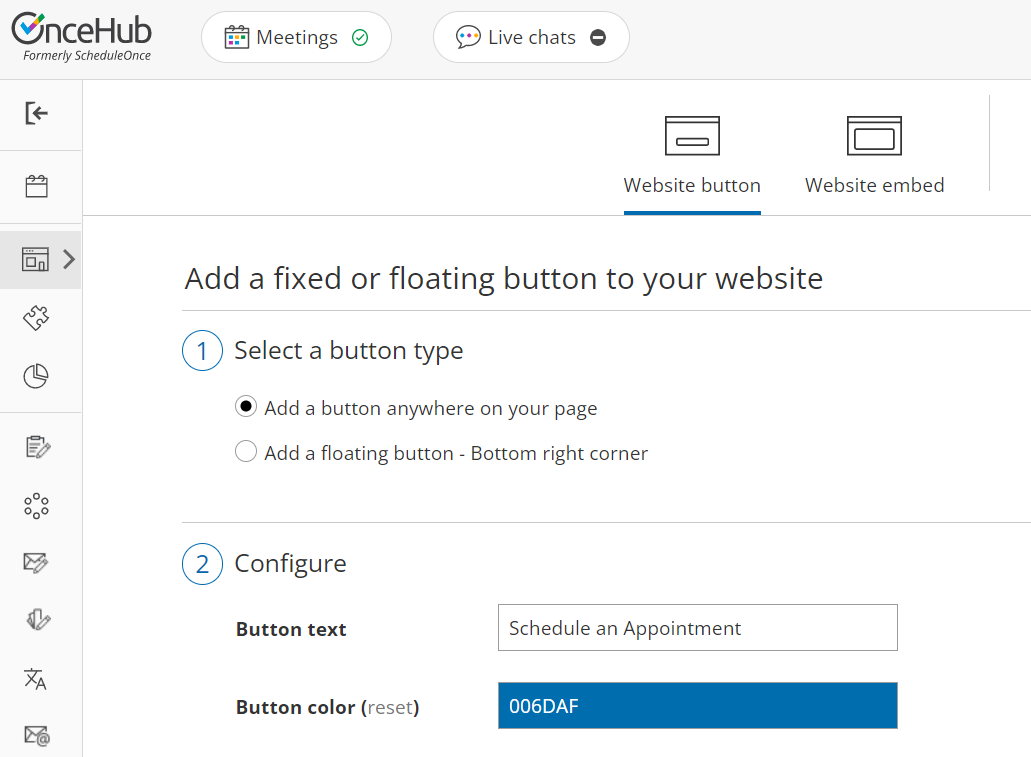 Figure 1: Website button tab
- In the Select a button type step, select whether you want to Add a button anywhere on your page or Add a floating button.
- In the Configure step, you can edit the Button text and select the Button color.
- In the Select a Booking page step, select the Booking page or Master page you want to create the website button for.
- In the Customer data step, select to have Customers fill out the Booking form, or select a Web form integration option.
- From the Button code step, choose the Display type.
- Click the Copy button to the copy the code to your clipboard.
- Next, go to your Wordpress Administration page.
- In the left sidebar, select Appearance.
- Select Widgets.
- Select the Custom HTML widget.
- Next, choose whether you want to add it to your Blog Sidebar or Footer.
- Click Add Widget.
- In the Custom HTML pop-up, paste the button code from OnceHub.
- Click Done.
- Test the button on your blog and make any adjustments.
